
Gear List: Columbia River Water Trail
In October 2014, I kayaked the Lower Columbia River Water Trail. During seven days of paddling, we traveled 145 miles through rain, wind, sunshine, and hail. We learned a lot, and I’ve compiled this list to share the gear we used and the gear we wished we’d had. I wrote it for a week-long expedition in the Pacific Northwest in the fall, but it could easily be modified to work for any kayak touring trip.
I want to be very clear: I spend a lot of time outside, but I’m not a kayak guide or a water safety expert. Please use your own judgement when determining what you’ll carry. Consult professionals when necessary. Be safe. Have fun.
Boat Gear
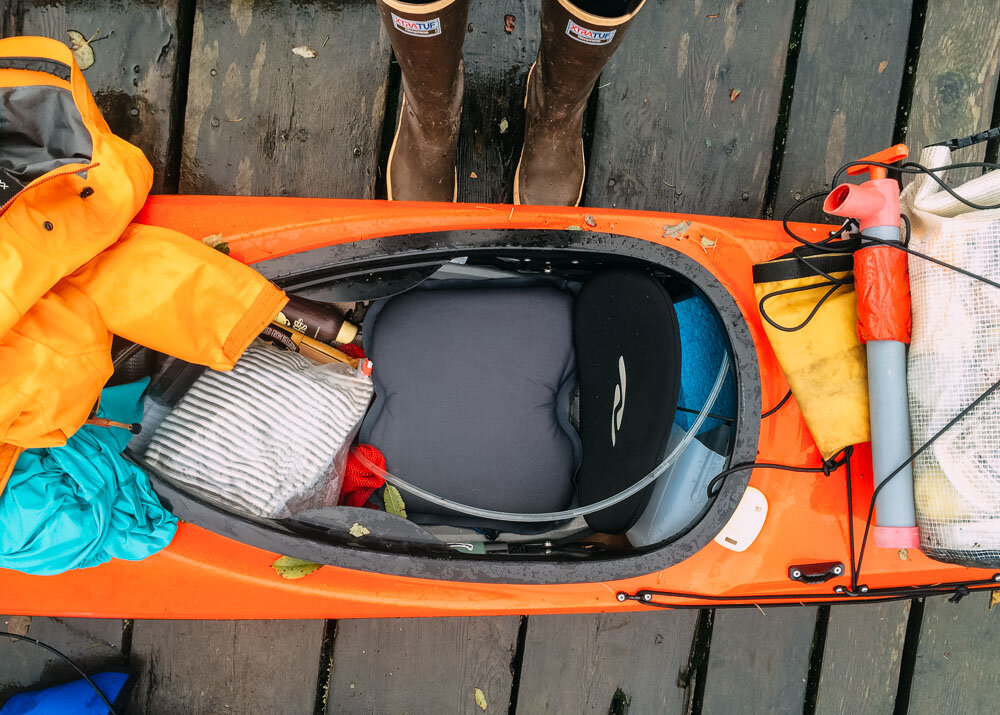
Kayaks. As you’re researching the right boat for your purposes, these are the factors to keep in mind: weight, stability, speed, boat length, amount of storage space, whether the hatches are watertight, and comfort of the seat and backrest. We attached 15′ bow and stern lines (made with 6mm cord) and waterproof lights to each boat.
Paddle. Kayak paddles come in all shapes, sizes, weights, and price ranges. You want a touring paddle that’s appropriate for your boat and your body.
Paddle leash. Several companies make specifically designed paddle leashes, but I made my own with 5′ of 4mm bungee cord.
Pogies. Absolutely crucial. Snap Dragon and NRS both make great options. Make sure they fit securely on your paddle.
Sponge. A sponge is absolutely vital for drying kayak seats, getting water out of the bottom of the boat, etc. Lots of companies make boat sponges, and they range from very simple to surprisingly expensive. You don’t need anything fancy—I like this one.
Bilge pump & paddle float. Every paddler should be prepared to self-rescue, which means carrying your own bilge pump and paddle float. You can buy them individually or as a kit—just keep in mind that inflatable paddle floats take up much less space than the ones made of foam. I attached both the pump and the float to the rigging on my boat with bungee cord.
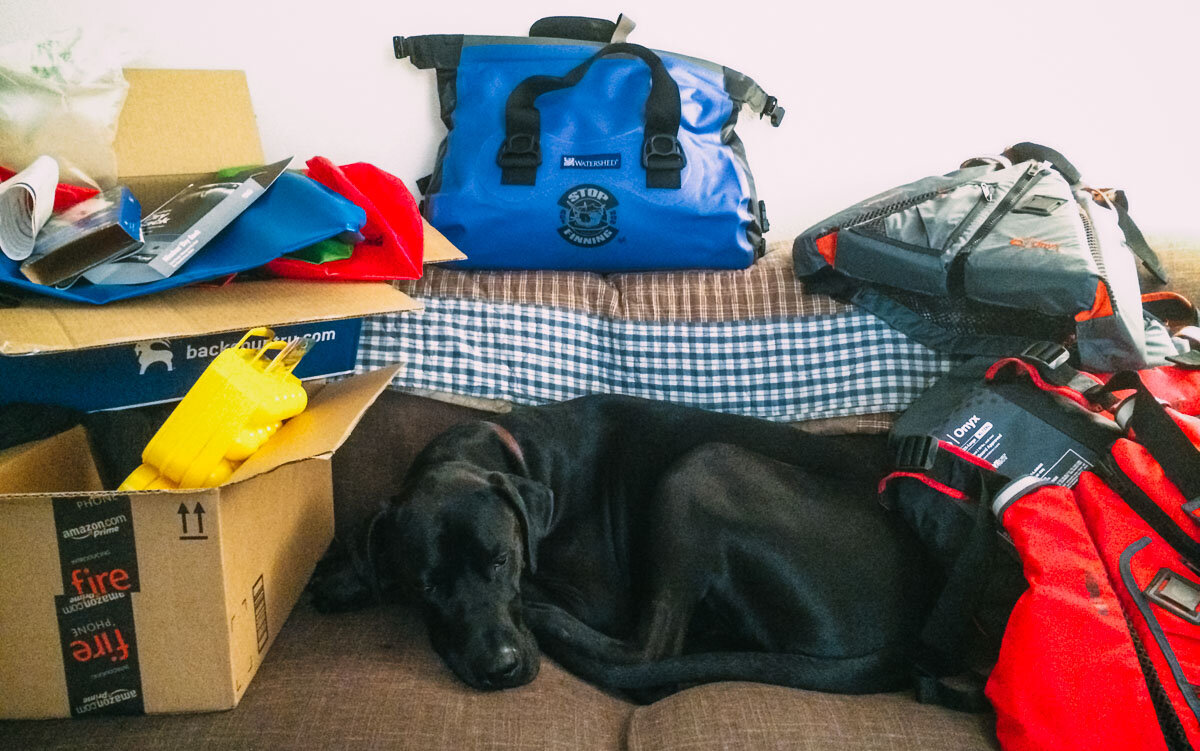
PFD w/safety whistle. Personal floatation devices come in all shapes and sizes, so choose one that suits your swimming abilities, activity, and the conditions you’ll encounter. Our team was given the Onyx MoveVent, and they were fantastic. I strongly suggest attaching a waterproof safety whistle to each person’s PFD.
Sprayskirt. Neoprene. Be damn sure that it doesn’t leak.
Drybags. Everything you put in a kayak should be inside a drybag. I recommend multiple small drybags (as opposed to one or two huge ones) because they’re easy to pack inside the boat’s hatches, they help with organization, and they make it simple to adjust weight and balance. Vinyl roll-top bags work best, and these fit nicely inside the bow or stern of a kayak.

Group Gear
Tent. Unless the forecast is for truly tropical weather, I strongly recommend a 4-season tent—they’re much sturdier, and they’ll stay a lot drier in any inclement weather.
Tarp. We used a regular old blue tarp as a footprint, which was very useful because we often camped in mud/sand/underbrush. In a pinch, a tarp can also be strung up as a makeshift cooking shelter, etc.
Parachute cord. Useful for everything: stringing up tarps, making a line to dry clothes, hanging food to keep it away from animals. (I bought this.) Pro tip: coil it up nicely, because otherwise it’ll get tangled in a hot second.
Stove. We had a Biolite, which was great for cooking and charging electronic devices. For short trips, I’m also a big believer in the JetBoil, which is compact and simple to use (and comes with a sweet way to make coffee.) For a longer trip, I recommend the MSR Whisperlite.
Pots & pans. There are tons of camping pots on the market. For kayaking, I like nesting sets like this or this(which save space). I generally try to avoid Teflon. (If you’re using the JetBoil system, they have brand-specific pots that are designed to work with their stoves. The number and kind of pots and pans you bring will depend on the number of people in your party, what kind of cooking you like to do, etc.)
Kitchen gear. You know: a spatula, hot sauce, salt and pepper, a tiny cutting board, a system for brewing coffee in the mornings, extra Ziplock bags, biodegradable soap. These are very useful.
Lighter & waterproof matches. I bring a handful of those Bic lighters (the kind you can buy at gas stations) and put one in every pocket, in the hopes that at least one will stay dry. Waterproof matches are a nice backup option.
Hand sanitizer. It’s really nice to give everybody in the group their own small bottle.
Repair kit. Dental floss, needle & thread, a small roll of duct tape, a tent pole splint, extra buckles/zippers, etc. Mine fits in a one-quart Ziplock bag.
Personal Gear
Synthetic sleeping bag. Synthetic bags will keep you warm even if they get wet. (That’s as opposed to down bags, which are lighter but only insulate when dry.) Wiggy’s makes my favorite synthetic bags.
Sleeping pad. These serve two functions: cushioning and insulation. (This is a great explanation of why it’s important to think about the R-value of your sleeping pad.) Trust me: this isn’t a place you want to skimp. I like these: NeoAir and Therm-a-rest.
Boots. I used Xtra Tuffs, which are knee-high waterproof boots. Other members of my team used the NRS Boundary Shoe, which is a similar neoprene boot. The brand isn’t important; just make sure that your boots will provide some insulation even when they (inevitably) get wet.
Camp shoes. It’s really nice to be able to take off your boots at the end of the day. I like flip-flops or Crocs.
Socks. I wore 100% wool socks under my Xtra Tuffs, but neoprene boots are designed to be worn without socks. I also kept two pairs of socks in a drybag for nighttime use. Avoid cotton.
Sports bra & underwear. Look for options made of any material that dries quickly. Avoid cotton.
Long underwear. Top & bottom. I like wool or synthetic. Again, you want to avoid cotton.
Adjustable layers. Top & bottom. Everybody has their own system for layering. Bring the combination that works for you: long-sleeved shirts, fleece layers, a vest, etc. I like to sleep in fleece pants, and I highly recommend a warm synthetic puffy jacket for cold nights.
Gore-Tex. Top & bottom. Make sure that your jacket is completely waterproof and that it has a hood. Side zippers on pants are nice.
Sun hat. Anything with a brim—I just use my favorite trucker’s hat. These are ridiculous but handy.
Warm hat.

Accessories
Sunscreen. I used Sun Bum, because it’s the only chemical-free brand that works—and it smells amazing! I usually carry a face stick and a small tube of SPF 70 (though depending on how much you use, you might want to bring more.) Any brand works—just make sure that it’s waterproof and high SPF. The sun is ferocious on the water. (Here’s why.)
Lip balm. With SPF. It’s worth bringing a couple of tubes and stashing them in various pockets.
Sunglasses. Bring good polarized sunglasses, preferably with a hard protective case.
Headlamp. I swear by the Mammut X-Shot, but depending on your travel plans, you may be able to get away with something a little simpler (like the Black Diamond Spot.) Bring at least one set of extra batteries.
Wrist watch. Something lightweight, waterproof, and durable. Be sure it has an alarm.
Pocket knife. Optional. These look super hard core, but 99% of the time you’ll be using the knife to cut cheddar cheese.
Small personal first aid kit. Athletic tape, aspirin/ibuprofen/acetaminophen, Imodium, antacid, Band-Aids, moleskin, nail clippers, etc. Bring extra doses of any prescription medications, in case some get wet.
Optional: journal, waterproof headphones, playing cards. I’ve been using Rite in the Rain notebooks, which are great.

Technical Gear
NOAA charts. NOAA charts are free to download on the NOAA website, so I recommend finding a place that can print out the specific charts you need. (If you’re paddling from the Bonneville Dam to the Pacific Ocean, you need these: 18531, 18526, 18525, 18524, 18523, and 18521.) Map Seal does work.
Tide table. These are available online or in boating stores. Make sure yours is current.
GPS. I like Garmin’s handheld GPS units, but there are lots of options. Choose one that’s waterproof and easy to use.
Camera. I used the GoPro Hero4, which worked famously. Whatever you choose to bring, be sure that it’s waterproof and/or insured. (Update: we’ve had some questions about the gear used by the trip photographer, who reports that this, this, this, and this are his go-to favorites.)
Water bladder. It’s nice to be able to stay hydrated while you’re paddling. I used a 4-liter MSR Dromedary with a drinking tube, but any Camelbak-type reservoir will be fine.
Waterproof phone case. I swear by LifeProof cases, but I also know people who like these.
Marine radio. Read the manual. For real.
A float plan. Designate a contact person back home, and check in with them at agreed-upon intervals. Work with your team to develop a plan for emergencies. Are there any allergies or medical conditions in the group? Where are emergency contact numbers written down? How hard is it to get help? Who are the appropriate authorities to call? Consider options like the DeLorme InReach.

This list is intended to be a place to start—not a comprehensive checklist. Do your own research! There’s lots of great information online. The Lower Columbia Estuary Partnership has been instrumental in developing the Lower Columbia River Water Trail, and their website is chock full of great tips. If you have any questions, please feel free to be in touch.